

On this page
Friction is the unseen force that slows things down. When you slide a book across a table, or ride a bicycle, friction is always pushing back against the motion.
Testing how friction works is one of the easiest science projects to do at home. By rolling a toy car across different floors, children can see the physics of motion in real time. And the science of learning shows that doing the experiment themselves makes a difference: a randomised college physics trial by the University of Chicago found that students who physically experienced concepts like angular momentum earned quiz grades 7% higher than those who only observed a demonstration (University of Chicago). This is because handling objects activates the sensory and motor regions of the brain, creating a deeper understanding than reading a textbook.
Here is how to set up the classic toy car friction experiment, and how to explain the physics behind the results.
What is friction and why does it matter?
Before rolling any cars, it helps to understand what you are measuring. Friction is a resistive force. Whenever two objects slide past each other, friction pushes back, trying to stop the motion.
Without friction, a car's tyres would simply spin in place without moving the car forward, and you would not be able to walk without slipping. However, too much friction is also a problem. Engineers spend a lot of time designing aerodynamic shapes and using lubricants like oil to reduce friction in engines so that cars can travel faster and use less fuel. When you test different surfaces in this experiment, you are replicating the exact same tests that automotive engineers do when they design tyres for icy or rough roads.
How do you set up the friction experiment for kids?
You only need a few everyday items to test how surfaces change speed.
Materials you will need:
A small, smooth-rolling toy car
A piece of stiff cardboard or a baking tray (to act as a ramp)
A stack of books to prop up the ramp
A measuring tape
Different test surfaces: a smooth tile floor, a rough carpet, a towel, or a sheet of sandpaper
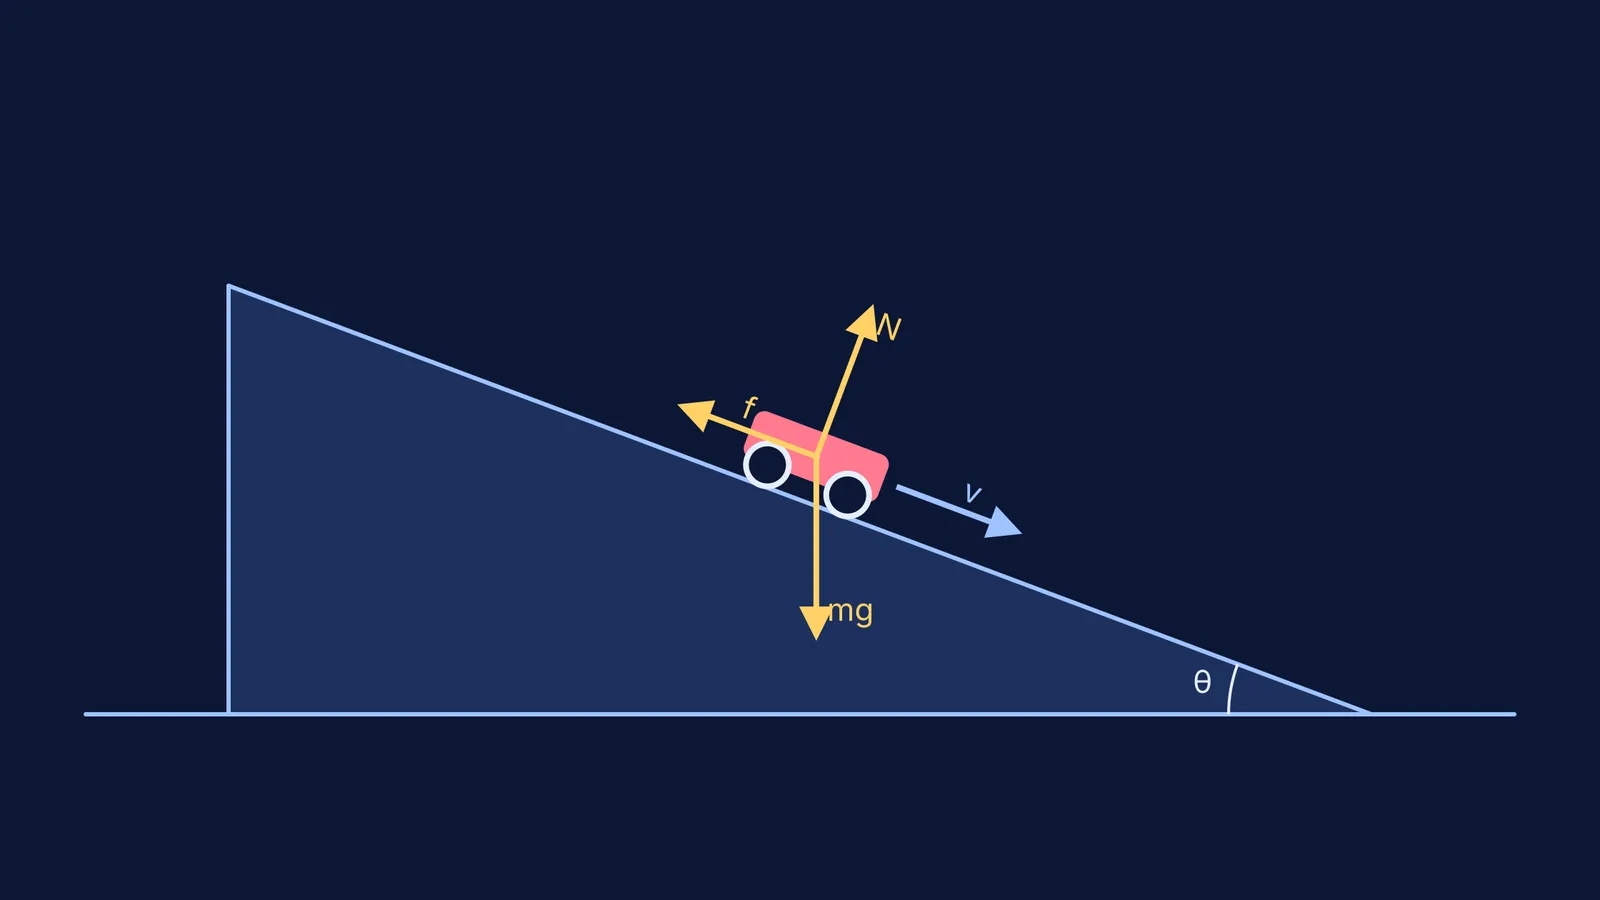
Set up your ramp by resting one end of the cardboard on the stack of books. Place the bottom of the ramp on your first test surface, such as the hard floor. Place the car at the very top of the ramp. Do not push it—just let it go so that gravity does the work.
Once the car stops, use your tape measure to find the distance from the bottom of the ramp to the front of the car. Write the number down, and repeat the test on the carpet, the towel, and any other surface you have.
Why does the car go further on tile than carpet?
Even surfaces that look perfectly smooth, like a kitchen tile, a sheet of glass, or a plastic tray, have microscopic bumps and ridges. When the car's wheels roll over them, these bumps catch against the wheels. On a hard, smooth floor, the bumps are very small, creating low rolling friction. This allows the car to keep most of its speed and travel a long distance before it finally comes to a halt.
On a carpet or a towel, the surface is filled with large, soft fibres. These fibres deform under the weight of the car, and they create high friction. They act like tiny brakes on the car's wheels, rapidly draining its kinetic energy. The rougher the surface, the quicker the car stops. If your child is studying these forces at school, they can read more about the rules of motion in Friction in Class 8: why it helps, and how we reduce it.
What questions should you ask after the experiment?
To turn the activity from a fun game into an active learning session, ask your child to predict what will happen before you test a new surface. Afterwards, use these questions to check their understanding and connect the experiment to the real world:
"Which surface was the fastest, and which was the slowest? Why do you think that happened?"
"What would happen if we made the ramp steeper? Would the friction change, or would gravity just pull harder?"
"Why do you think real cars have rubber tyres with deep grooves instead of smooth plastic wheels like your toy car?"
"If we put oil or soapy water on the tile floor, would the car travel further?"
When students physically feel and see these differences, their brains build an intuition they can rely on later. Once they reach higher classes and begin calculating coefficients of sliding friction, this intuition will help them solve Friction problems: static vs kinetic friction and blocks on blocks without getting stuck on the formulas.
If they struggle to picture what happens when a surface has exactly zero friction, or how changing the car's mass affects the forces at play, they can try the Fermi Simulation Lab. It gives them interactive simulations for the ideas that are easier to see than to read, letting them dial the friction down to nothing and watch the force vectors change in real time.


