On this page
Watching a piece of bread slowly turn green and black is a classic kitchen science project. It brings microbiology to life on the kitchen counter, showing how organisms break down food. But because mould spores can trigger allergies and asthma, it must be handled correctly. Here is how to run a safe, engaging bread mould observation experiment with kids.
How do you set up a bread mould observation experiment for kids?
The core of this experiment is trapping moisture and maintaining a strict safety boundary.
Prepare the bread: Take a slice of fresh, additive-free bread (bakery bread moulds faster than heavily preserved sandwich bread). Ask your child to sprinkle some water on it—fungi need moisture to trigger growth.
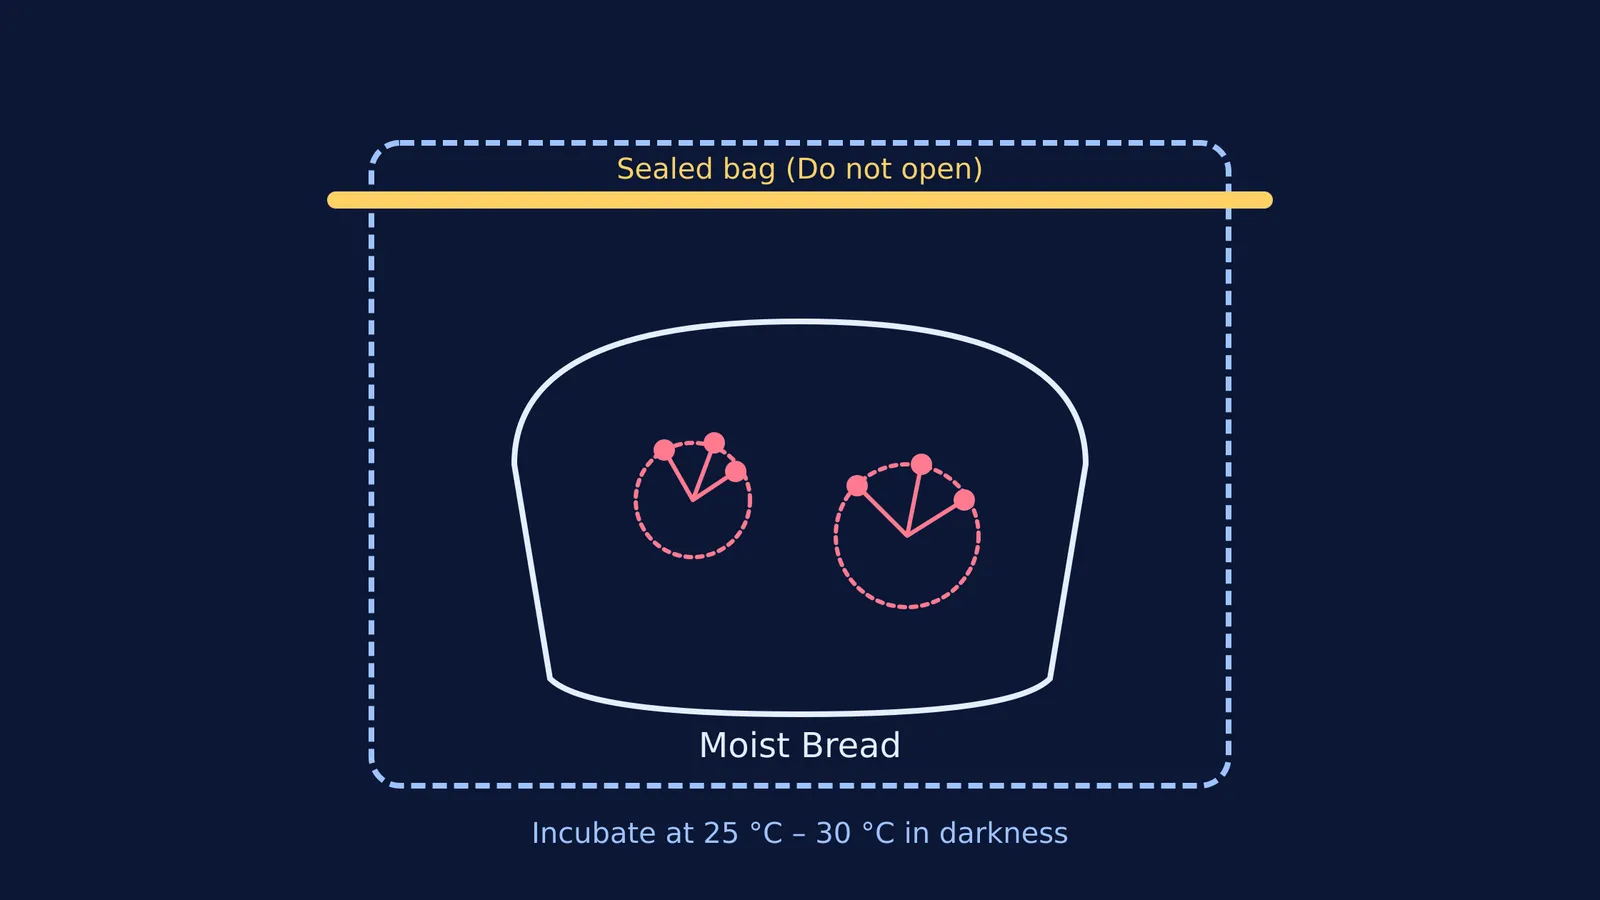
Seal it tight: Place the slice inside a clear zip-top bag. Squeeze out most of the air and seal it. For an extra layer of safety, place that bag inside a second one and seal it with duct tape.
Pick a location: Place the bag in a warm, dark place. According to botanical data on *Rhizopus stolonifer* (the common black bread mould), the optimal temperature for growth is between 25 °C and 30 °C. Below this range, the fungus grows slowly; above it, growth stalls.
Leave it alone: Check the bag daily, but do not move it unnecessarily.
For more hands-on activities that use everyday materials, check our guide to Kitchen science: five safe experiments and what each one teaches.
Why must you never open the bag during a mould experiment?
The golden rule of any at-home microbiology observation is simple: never break the seal.
As the mould grows, it reproduces by releasing microscopic spores from tiny stalks called sporangiophores. If a child opens the bag, those spores are immediately released into the air. Inhaling them can trigger respiratory irritation or severe reactions in children with asthma or mould allergies.
When the experiment is over, throw the entire sealed, taped bag directly into an outdoor bin. Do not attempt to wash or reuse the plastic. (If your child is curious about how these biological protocols work in professional settings, they can read about bioreactors and downstream processing).
What conditions make bread mould grow fastest?
You can turn a simple observation into an active investigation by changing the variables. To do this, set up three separate bags at the same time:
Bag A (Control): Moist bread in a warm, dark cupboard.
Bag B (Cold): Moist bread in the refrigerator.
Bag C (Dry): Dry bread left out on a plate to dry completely before sealing, placed in the warm cupboard.
Over the observation period, your child will notice that Bag A sprouts fuzzy colonies rapidly, because *Rhizopus stolonifer* thrives on a moist substrate and moderate heat. Bag B will likely remain clear or grow very slowly, while Bag C will demonstrate that without water, spores remain dormant. Setting up controls like this is the first step in doing a science project: from a good question to a fair experiment.
What does an observation plan look like?
Give your child a notebook and ask them to record what they see through the plastic.
Initial stage: The bread looks normal. Moisture may condense on the inside of the bag.
Early growth: Small white or grey, fuzzy spots appear. These are the mycelial threads (hyphae) spreading across the bread to absorb nutrients.
Maturation: The spots develop black, pin-like heads. These are the sporangia, where the spores are made.
End of experiment: The colonies merge, and the bread begins to physically break down. It is time to throw the bag away.
Observing the subtle daily changes helps children understand the speed of microbial growth. They can draw pictures alongside their notes to document how the fuzzy spots expand and change colour over time. This daily routine builds patience and teaches them how to keep a systematic scientific log.
If your child starts asking deeper questions—such as why fungi are not classified as plants, or how they digest food externally—the Fermi Concept Library has a lesson on fungal anatomy and its place in the map. Alternatively, Fermi's AI tutor can teach them the five-kingdom classification system, deciding whether to explain, ask or show rather than just handing them the answer.
Here is a quick summary checklist for your young scientists:
Look closely: Observe the colours and fuzz through the plastic.
Record data: Write down the date and what the mould looks like each day.
Keep it closed: Never unzip the bag or peel off the tape.
Dispose safely: Toss the whole bag in the outside bin when done.