
On this page
Put one hand in warm water and the other in ice-cold water, then move both into the same tap water. One hand says it is cool, the other says warm. Chapter 7 of Class 6 science starts with this trick to show why we need thermometers. This post covers the two thermometer types, how to read a scale, the three temperature scales with worked conversions, and the mistakes examiners look for.
Where is this chapter?
"Temperature and its Measurement" is Chapter 7 of Curiosity, the Class 6 NCERT science book marked Reprint 2026-27. The chapter defines temperature as a reliable measure of how hot or cold a body is, and a thermometer as the device that measures it.
Clinical or laboratory thermometer: what is the difference?
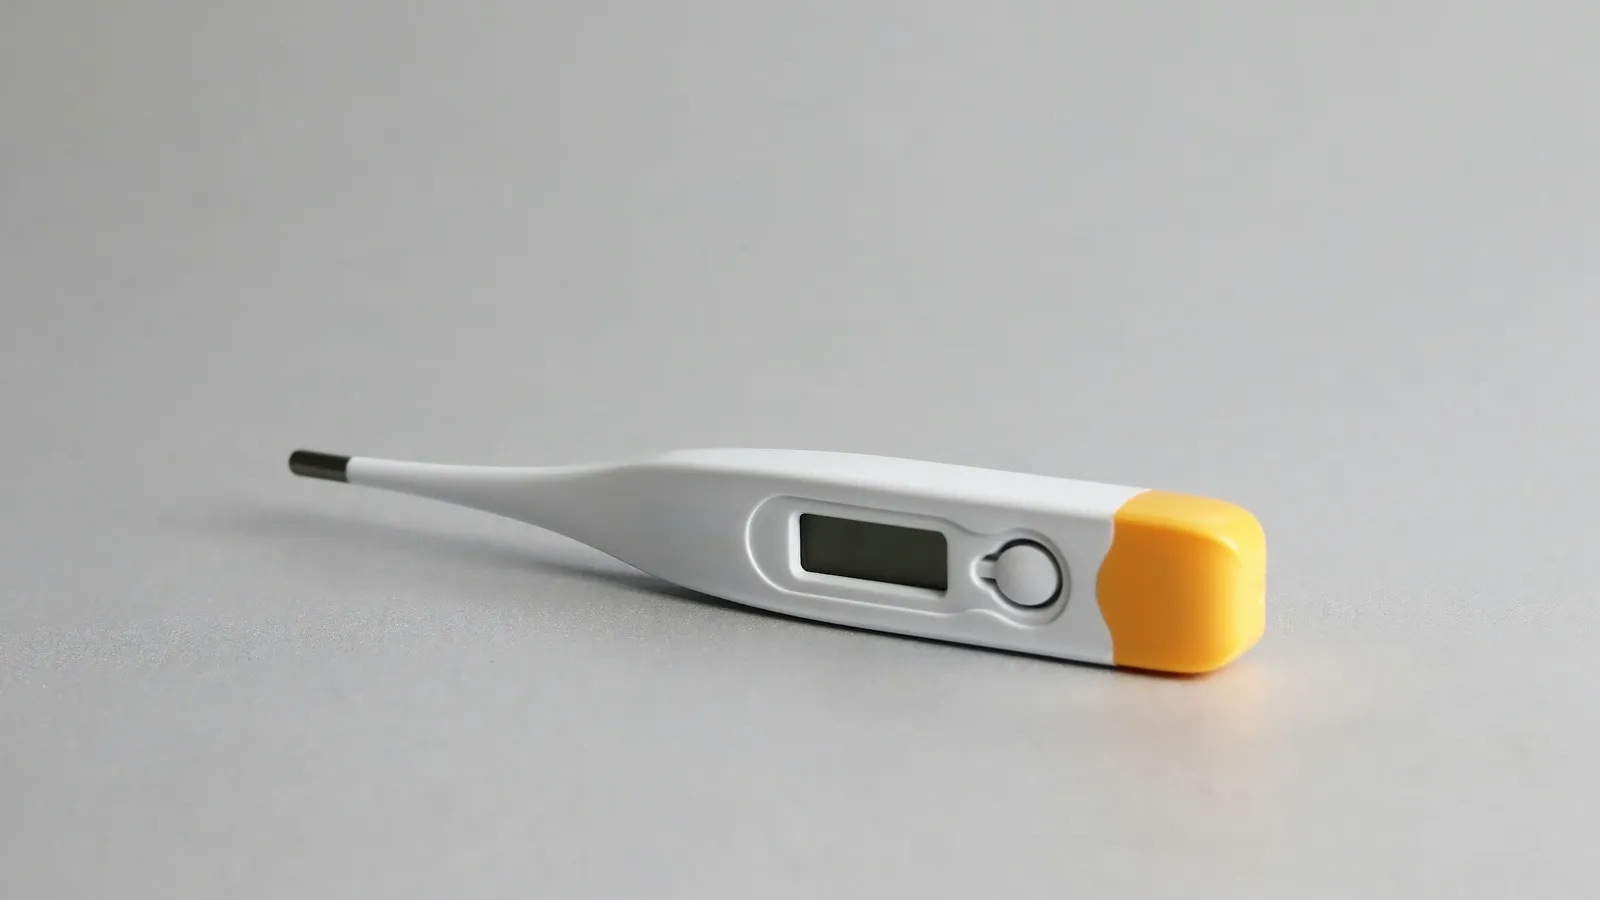
Clinical thermometers measure body temperature. The book's example is a digital thermometer that uses heat sensors. The book says mercury thermometers are being replaced because mercury is extremely toxic and hard to dispose of if the thermometer breaks. Human body temperature does not normally go below 35 °C or above 42 °C, so a clinical thermometer cannot read boiling water or ice.
Laboratory thermometers have a liquid (usually coloured alcohol or mercury) in a bulb and a narrow tube marked with a Celsius scale. The one in the book reads from -10 °C to 110 °C.
The book takes 37.0 °C as normal body temperature but explains it is an average over many healthy people, and varies with age, time of day and activity. A reading taken in the armpit is about 0.5 °C to 1 °C lower. If someone at home has a fever, tell an adult and follow a doctor's advice; this chapter teaches measurement, not treatment.
How do you read a laboratory thermometer correctly?
The chapter's rules:
Keep the bulb in the liquid, not touching the bottom or sides of the beaker.
Hold the thermometer upright, not tilted.
Read it while it is still in the liquid; the column starts falling once you take it out.
Keep your eye level with the top of the liquid column.
Hold it by the top, not the bulb.
Worked example 1: the smallest division
On the book's thermometer, the gap from 0 °C to 10 °C has 10 small divisions. Each division = 10 °C ÷ 10 = 1 °C.
Exercise 12 gives a thermometer with 50 divisions between 0 °C and 100 °C. Each division = 100 °C ÷ 50 = 2 °C. Always find this value before you read any thermometer.
Worked example 2: converting between scales
The chapter introduces Celsius (°C), Fahrenheit (°F) and Kelvin (K), and says the SI unit of temperature is the kelvin. NIST gives the exact conversions:
K = °C + 273.15
°F = °C × 1.8 + 32
°C = (°F - 32) ÷ 1.8
Body temperature: 37 °C × 1.8 = 66.6, and 66.6 + 32 = 98.6 °F. In kelvin: 37 + 273.15 = 310.15 K.
Exercise 14: Komal says she has a fever of 101 degrees. That must be Fahrenheit, because 101 °C is above the boiling point of water. In Celsius: (101 - 32) ÷ 1.8 = 69 ÷ 1.8 ≈ 38.3 °C.
Worked example 3: why did the class read about 98 °C for boiling water?
Activity 7.6 lists boiling-water readings from students in Shillong: 97.8, 98.0, 97.9, 98.0 and 98.1 °C.
Average = (97.8 + 98.0 + 97.9 + 98.0 + 98.1) ÷ 5 = 489.8 ÷ 5 = 97.96 °C, about 98.0 °C.
The book asks why the readings differ and suggests some students may not have read the thermometer correctly. There is a second reason all of them are below 100 °C. Shillong is a hill town, and NCERT's Class 11 physics chapter on thermal properties explains that at high altitudes air pressure is lower, which lowers the boiling point of water. You will study this properly later; for now, notice that a careful set of readings can point to a real effect.
Which mistakes cost marks?
Using a laboratory thermometer for body temperature, or a clinical one for boiling water. Check the range.
Reading the lab thermometer after taking it out of the water.
Forgetting to work out the smallest division first.
Writing °K, or "37 degree celsius" without a capital C.
Thinking 37.0 °C is exact for everyone. It is an average.
A one-week practice routine
Day 1: Do the three-bowl touch activity at home and write what each hand felt.
Day 2: Convert 0 °C, 25 °C and 100 °C to kelvin and Fahrenheit (273.15 K and 32 °F; 298.15 K and 77 °F; 373.15 K and 212 °F).
Day 4: Record the maximum and minimum air temperature from a weather report for ten days, as in Activity 7.7, and find the warmest day.
Day 7: Without notes, list the five rules for using a lab thermometer. Recall practice like this helps; students who tested themselves remembered more a week later than those who re-read.
The Fermi Simulation Lab has interactive simulations for ideas easier to see than read, which helps when picturing what happens as something heats up. For the story behind one of these scales, read about Daniel Fahrenheit and the thermometer, and in Class 7, heat transfer builds on this chapter.
Today, convert three temperatures from tomorrow's weather forecast into kelvin and Fahrenheit.