

On this page
Saponification is the chemical process of making soap by hydrolysing fats or oils with a strong alkali. In the laboratory, this reaction is a core part of the Class 10 science curriculum, designed to show how everyday cleaning agents are synthesised.
What is the principle of saponification?
Soap is the sodium or potassium salt of a long-chain fatty acid. The saponification reaction converts a triglyceride (such as castor, cottonseed or coconut oil) and sodium hydroxide (NaOH) into soap and glycerol 1. Because the process releases heat into the surroundings, it is an exothermic reaction.
If you are struggling to picture the reactions in organic chemistry, the Fermi Concept Library covers every concept in physics, chemistry, biology, mathematics and computing, each with its own lesson and its place in the map.
How is soap prepared in the laboratory?
To carry out this practical, you will need a 250 mL beaker, a glass rod, a Bunsen burner, vegetable oil, and a 20% NaOH solution 2.
Here is the step-by-step procedure:
Measure 25 mL of vegetable oil (like coconut or castor oil) into the beaker.
Add 30 mL of the 20% NaOH solution to the oil.
Stir the mixture vigorously with a glass rod. You will notice the beaker becomes warm, confirming the exothermic nature of the reaction.
Place the beaker on a tripod stand with a wire gauze and heat it gently over a Bunsen burner for 5 to 10 minutes, continuing to stir.
The mixture will gradually thicken into a whitish paste as the soap forms in suspension.
Safety is paramount during this practical. Sodium hydroxide is highly corrosive and can cause severe skin burns, so you must handle it with care and wear safety goggles. Stirring continuously is also essential to prevent the mixture from splattering out of the beaker while heating.
Why do we add common salt during the preparation of soap?
Once the mixture has thickened into a paste, add about 15 grams of common salt (NaCl) and stir well 2. This step is known as "salting out". Adding salt decreases the solubility of the soap in the glycerol-water mixture, causing it to precipitate and float to the top as a solid.
After removing the beaker from the heat and letting it cool, you can filter the solid soap and press it dry between sheets of filter paper. To confirm the product's basic nature, dip a red litmus paper into the moist soap; it will turn blue.
How do you test soap in hard and soft water?
The final part of the practical tests the soap's cleaning capacity by observing how it lathers in different types of water.
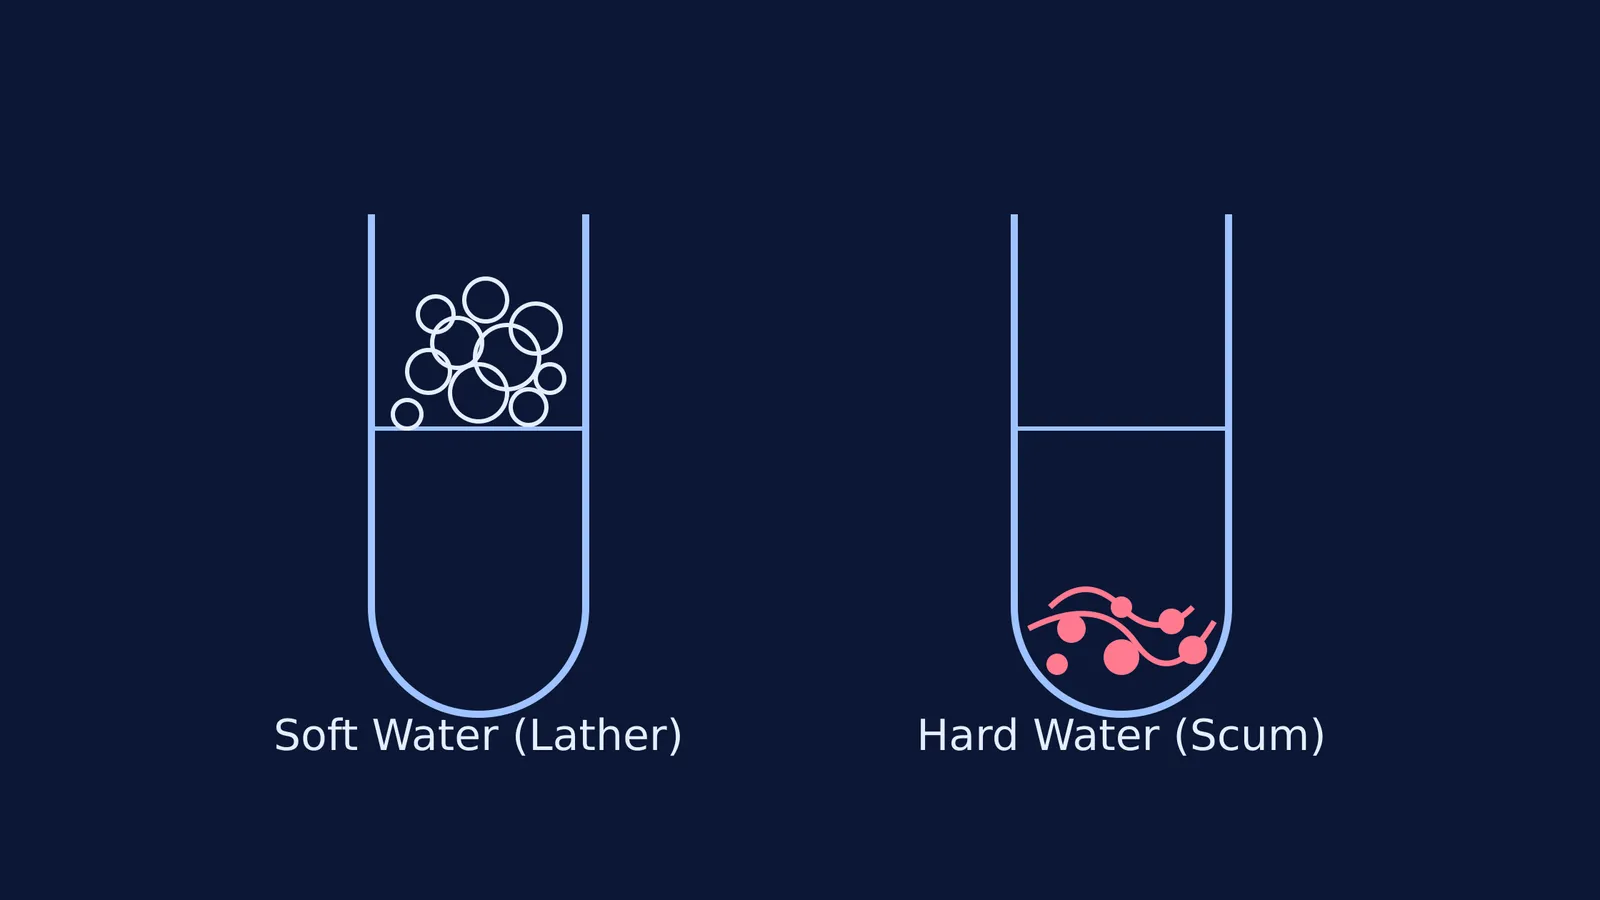
Set up two test tubes. Pour 10 mL of soft water (such as distilled water) into the first tube, and 10 mL of hard water (water containing dissolved CaCl₂ or MgSO₄) into the second tube. Add five drops of your prepared soap solution to both tubes and shake them vigorously for the same amount of time 2.
In the soft water, the soap forms a large amount of foam or lather, leaving a clear solution below. Soft water lacks the dissolved metallic ions that interfere with soap molecules. When soap dissolves in soft water, its amphiphilic molecules arrange themselves into micelles—spherical structures with their hydrophobic tails pointing inward to trap grease, and their hydrophilic heads pointing outward to interact with water.
In the hard water, the soap produces very little or no lather. Instead, the calcium (Ca²⁺) and magnesium (Mg²⁺) ions react directly with the hydrophilic heads of the soap molecules. This reaction creates an insoluble, curdy white precipitate called scum 1. Because the soap molecules are bound up in this scum, they cannot form micelles or trap oil, which is why soap is ineffective for washing clothes in hard water. Synthetic detergents, on the other hand, have different hydrophilic groups that do not form insoluble salts with these metallic ions.
To build a stronger foundation in carbon chemistry before your practical exam, review the How soaps clean: micelles and hard water in Class 10 carbon and Ethanol and ethanoic acid: Class 10 properties and reactions guides.


